Add venue
Set up a dedicated workspace for your salon or business in just a few clicks. Customize it with your branding, team, and service offerings to start managing operations from day one
Add Venue
Purpose: Learn how to create a new venue with complete setup of address, amenities, billing, and more.
- From the main dashboard, click on the Settings option located on the left sidebar.
- Under the Venue Management section, click on the Venue card (first navigation tab).
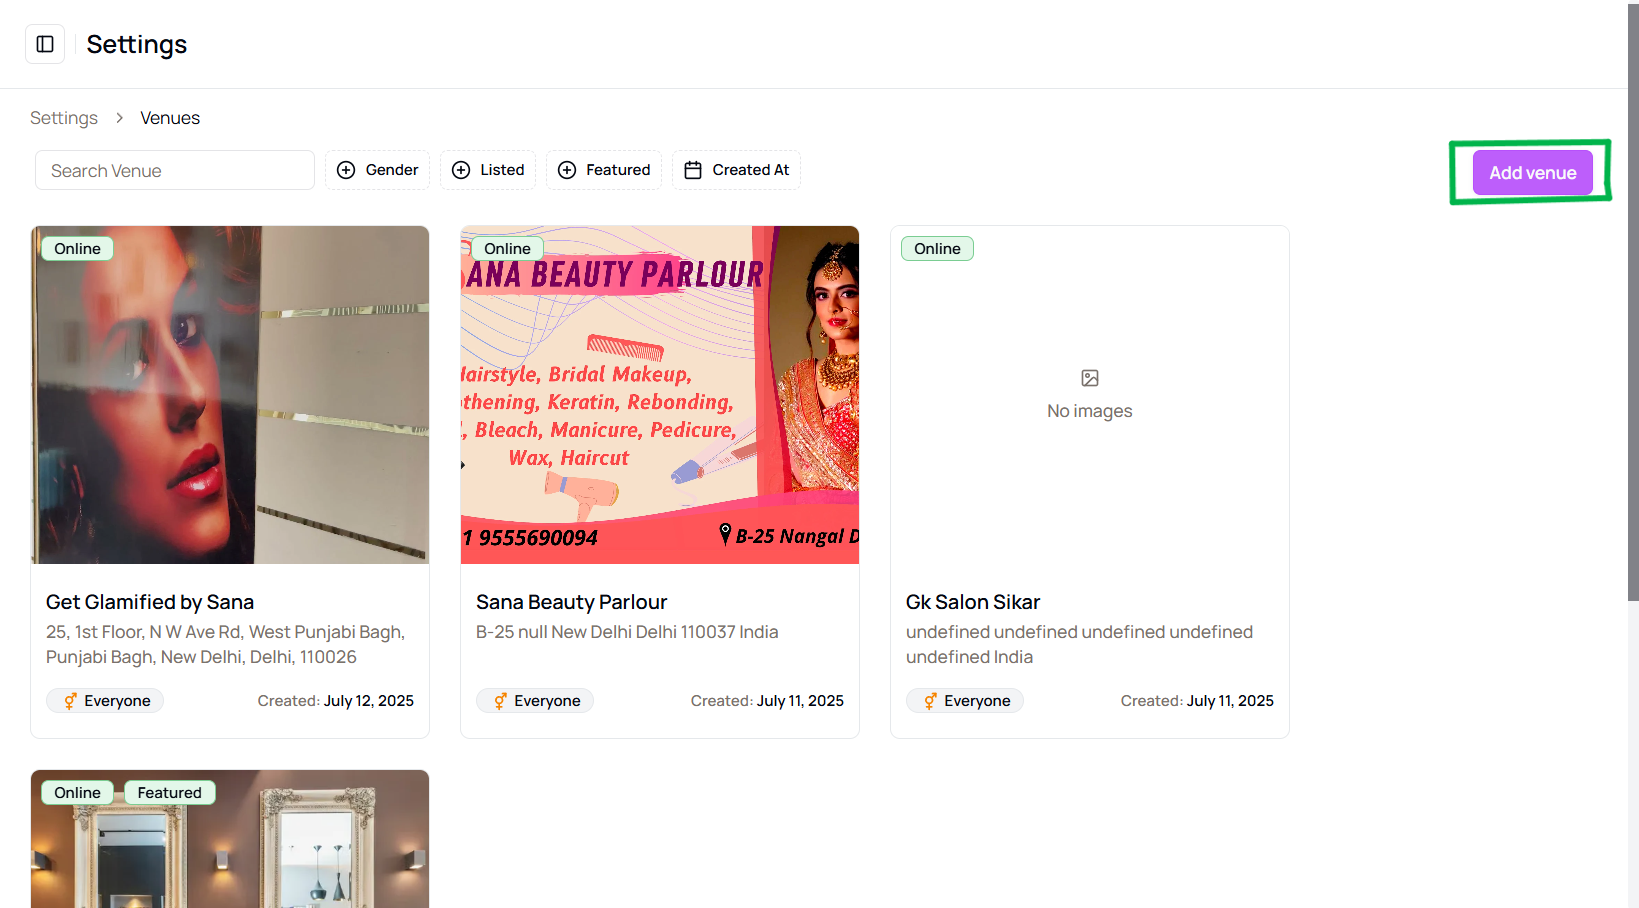
- Inside the venue section, click the “Add Venue” button at the top-right corner.
- A multi-step panel will open:
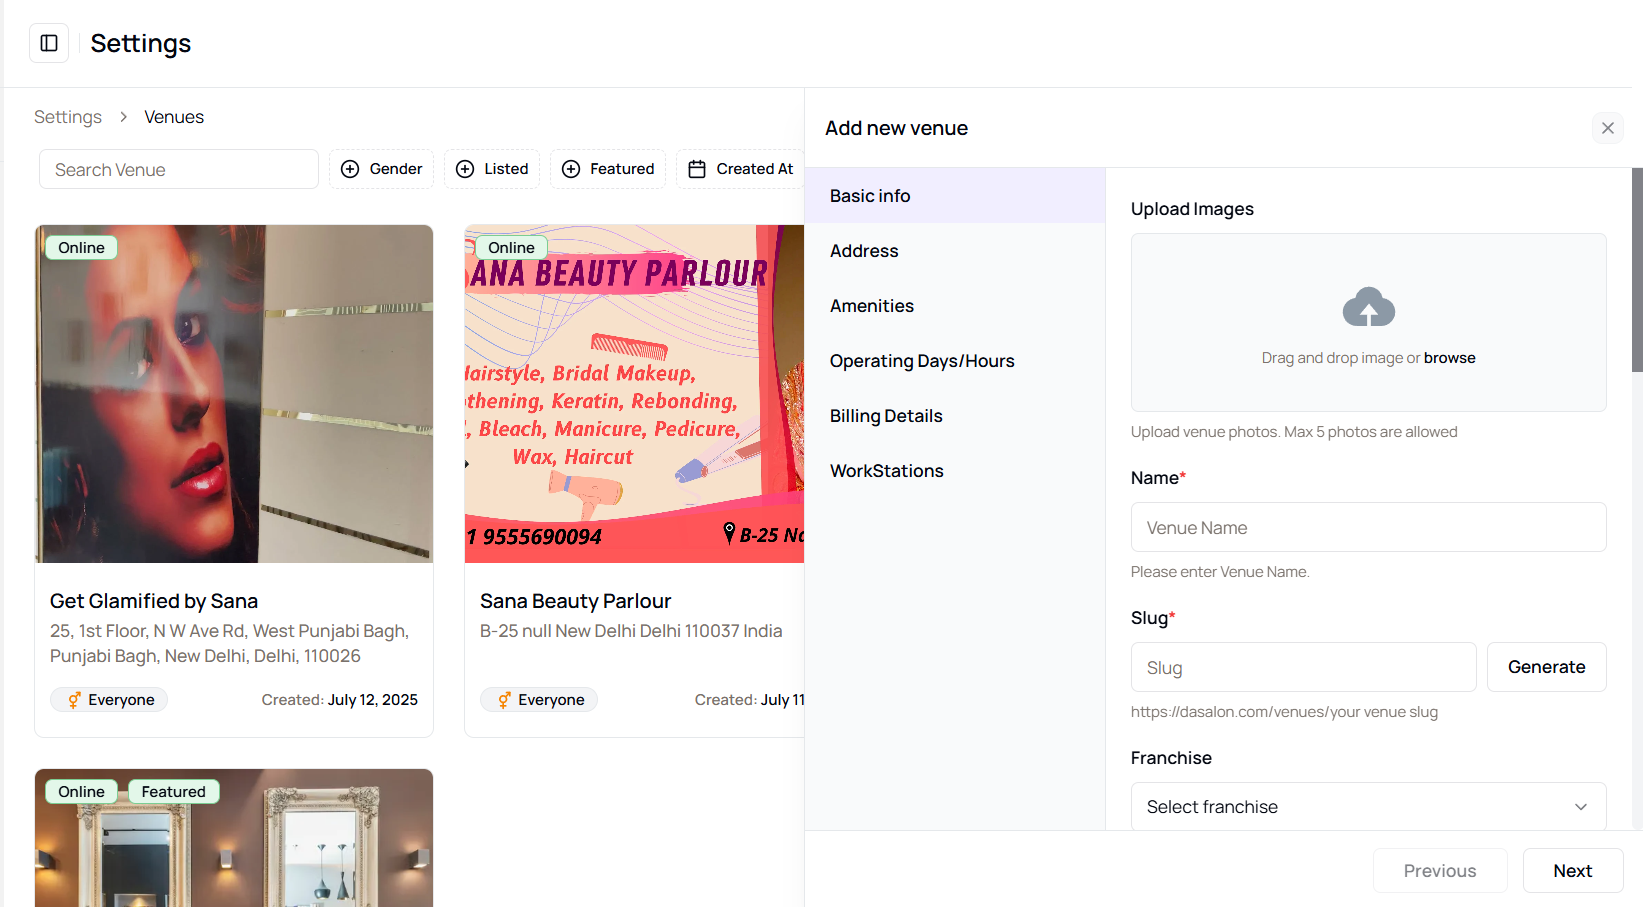
- Basic Info – Upload up to 5 venue images, fill out the venue name, slug, franchise details, gender restriction, phone number, email, and business type.
- Address – Enter the complete address details of the venue.
- Amenities – Select applicable amenities such as WiFi, lotion, private rooms, etc.
- Operating Hours – Set working days, opening and closing hours, and define any off-peak timings.
- Billing Info – Enter billing name, venue name, billing address.
- Workstations – Add workstation names for staff or service areas.
- After completing all fields, click Save to successfully add the venue.
Tip for First-Time Users:
Setting up venues properly helps streamline operations, assign staff, and organize service locations efficiently.
More questions about this
Q1. Can I add multiple venues?
Yes, there is no limit on how many venues you can add. Just follow the same steps for each.
Q2. Can I edit venue details later?
Yes, you can go back to the venue card anytime and click Edit to modify details.