Create a sale
Quickly create a new sale by selecting services, assigning staff, and adding client details—all from one simple checkout interface.
Create a Sale
Purpose: Record walk-in or booked sales, assign services/products, and handle payments.
-
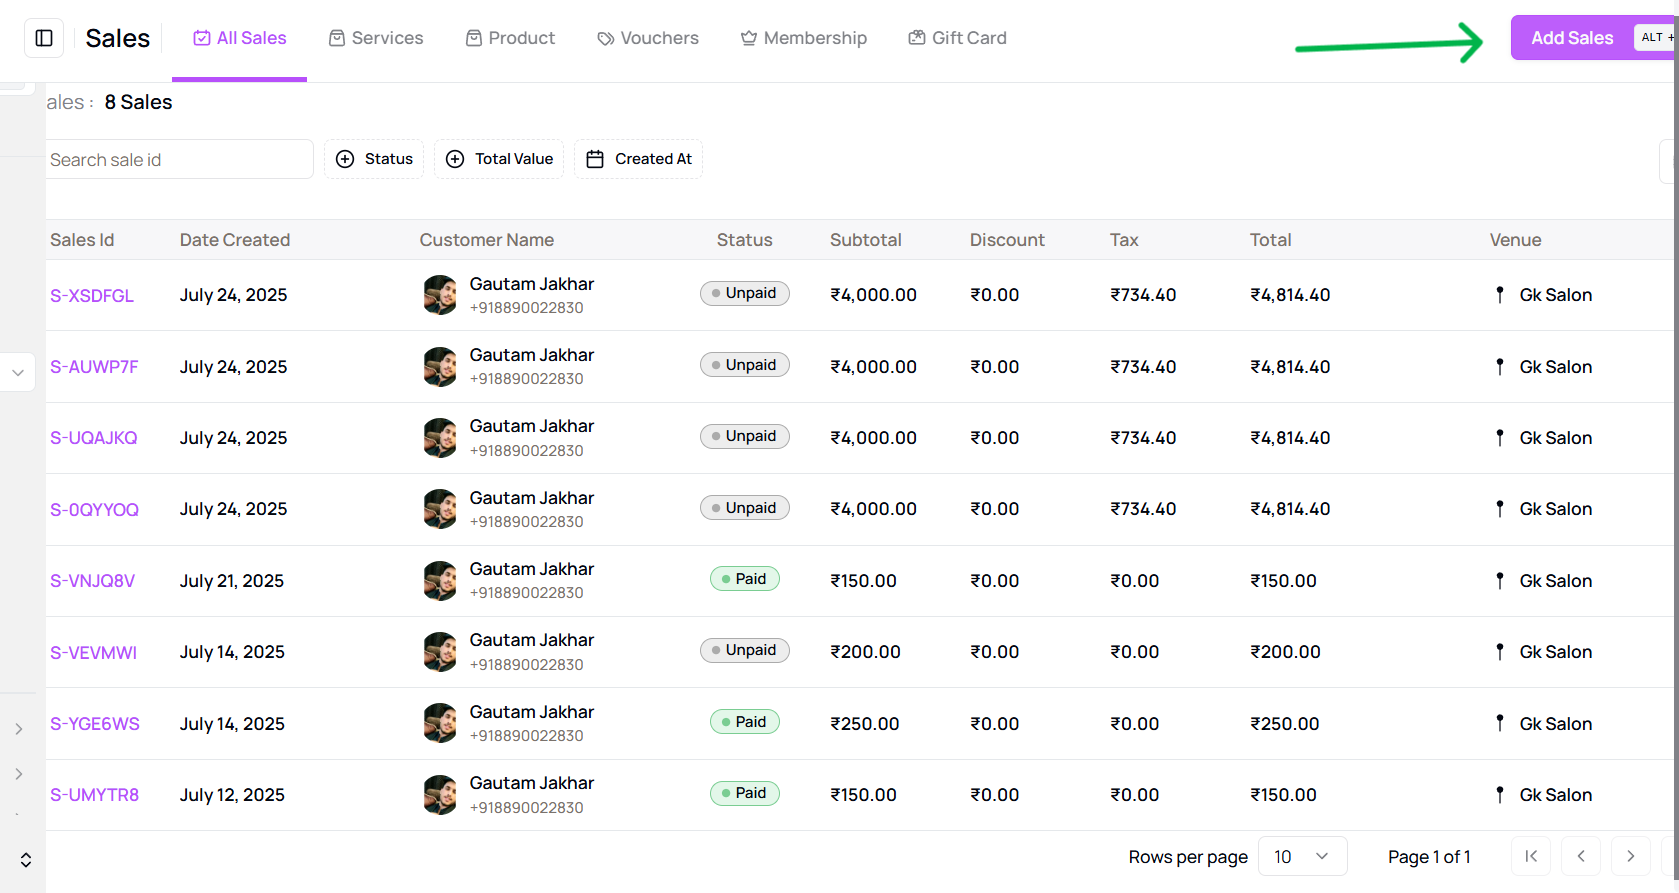
From the Sales page, click "Add Sale" in the top-right corner.
-
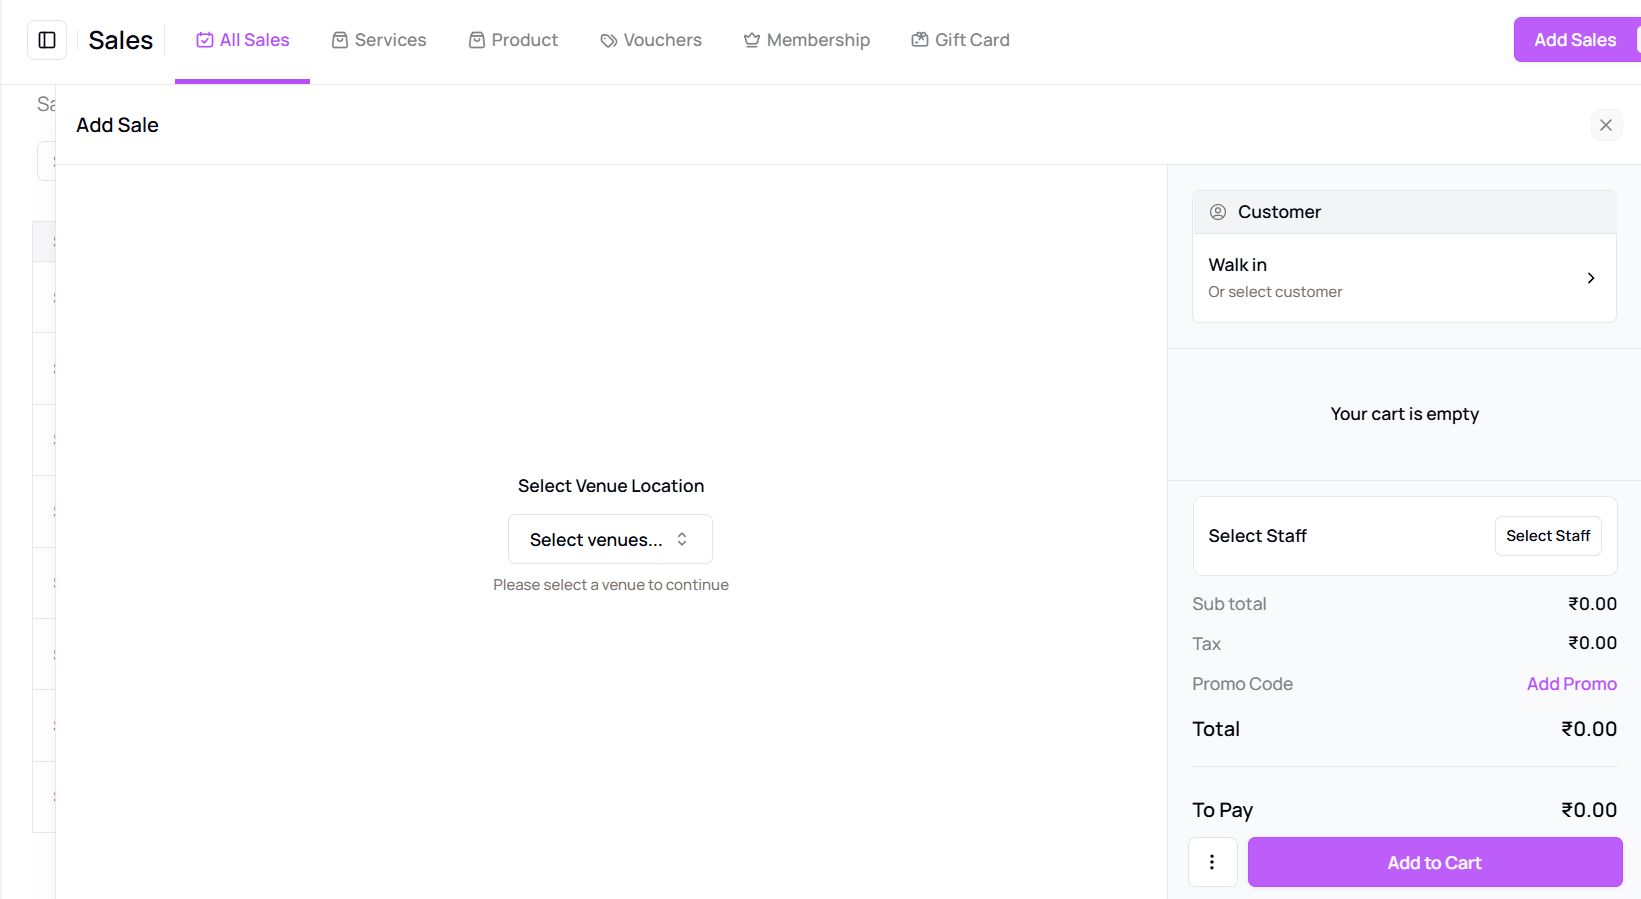
A side panel opens with two main sections: .png)
- Left Panel:
- Choose Customer Type: Walk-in (default), Existing Client, or Add New Client.
- Select Venue from the dropdown.
- Add items: Appointments, Services, Packages, Vouchers, Memberships, Gift Cards.
- Right Panel:
- View cart items, subtotal, taxes, discount (promo code), tip, and total.
- Assign staff, add notes, and choose payment method.
- Click Continue to Payment and select:
- Full Payment → Paid Sale
- Partial Payment → Partially Paid
- No Payment → Unpaid Sale
- Click Complete Sale. A confirmation message will appear.
Tip for First-Time Users:
Use this feature to keep track of all transactions, even for walk-in clients or quick sales that are not linked to an appointment.
More questions about this
Q1. Can I add multiple services to a sale? Yes, you can add as many services, products, or vouchers as needed before completing the sale.
Q2. Will the sale be reflected in reports immediately? Yes, once the sale is completed, it will appear in your real-time sales reports.