Create client profiles
Capturing complete and accurate client info ensures smooth appointment booking, personalized communication, and better tracking.
Create a New Client
Purpose: Add a new client to the system to manage their appointments and records.
-
Go to Clients Page
From the dashboard, go to the Clients tab on the left. -
Click Add Client
On the top right corner of the Clients page, click the “Add Client” button. -
Open the Form
A slide-in panel will open on the right side of your screen with a form to fill in client information.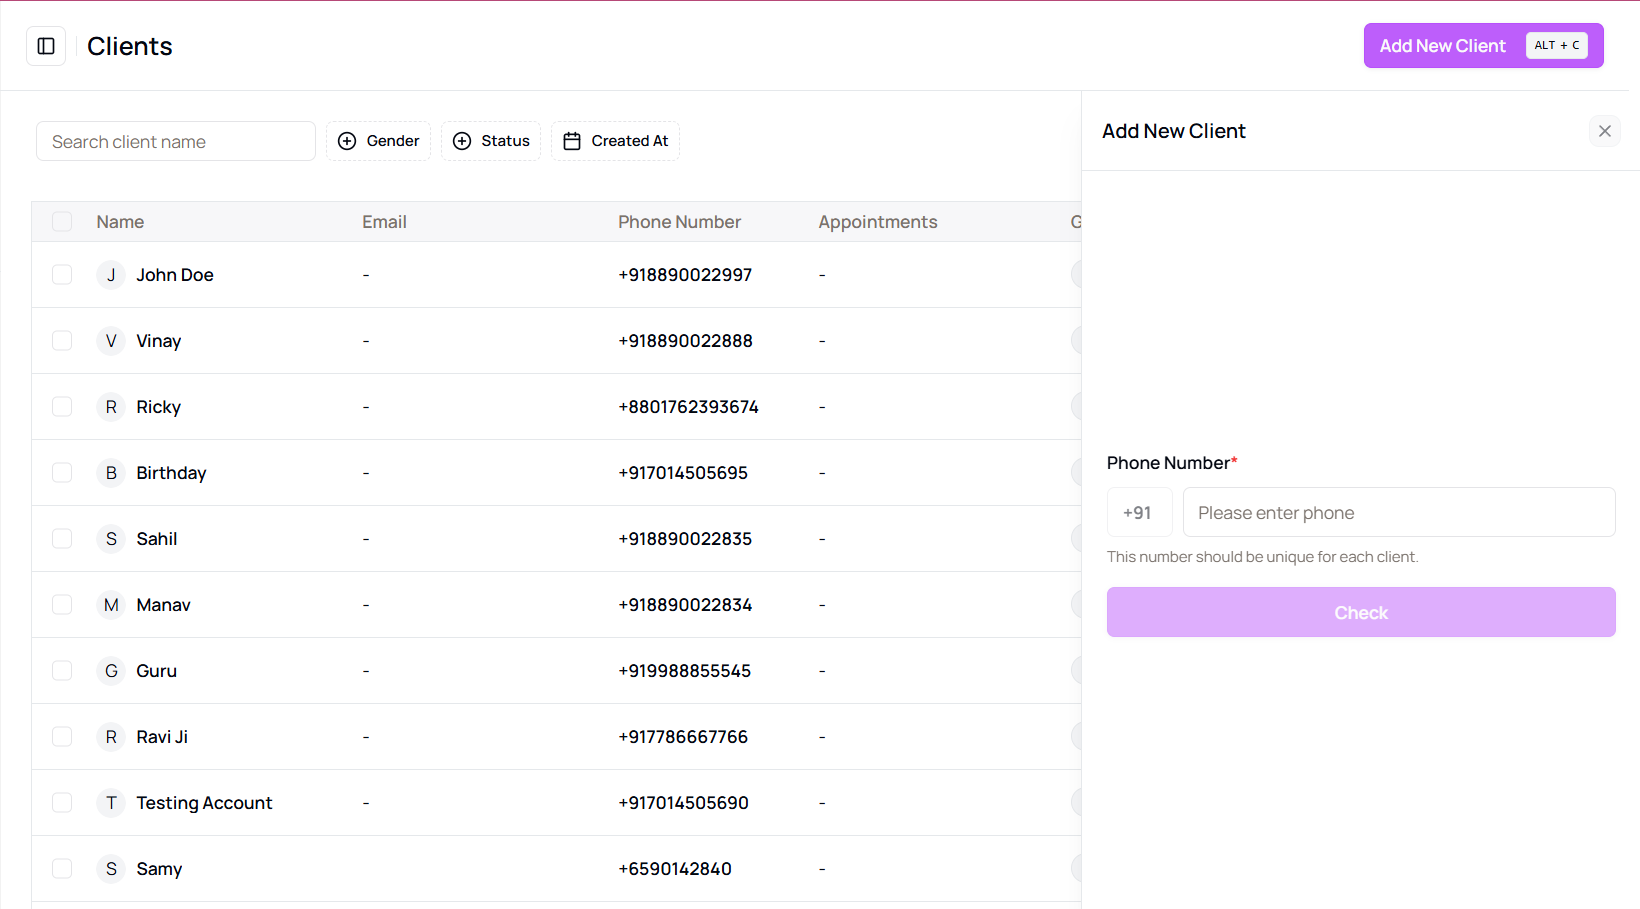
-
Verify Phone Number
Begin by entering the client’s phone number, then click the “Check” button to verify if the number is unique (no duplicates allowed). -
Fill Out Form Fields
Once verified, continue filling out the rest of the form fields:- Full Name
- Gender
- Birth Date
- Address
- Optionally upload a profile image (avatar)
-
Add Notes
You can also add a partner note, which can be internal preferences or instructions. -
Submit the Form
After all required fields are completed, scroll to the bottom of the panel and click on the “Add Client” button. -
Confirmation Message
A success message will appear confirming that the new client has been added to your system.
Tip for First-Time Users:
Ensure all mandatory fields are filled correctly to avoid validation errors during submission.
More questions about this
Q1. What happens if a duplicate phone number is entered?
The system will prompt you that the number already exists and prevent submission.
Q2. Can I edit the client information later?
Yes, you can edit any client information from the Clients page by selecting the client and choosing the edit option.